| INDEX | 1300-1599 | 1600s | 1700s | 1800s | 1900s | CROSS-ERA | ETHNO | |
| MISCELLANY | CONTACT | SEARCH | |
This is probably the most ambitious project so far... I wanted a fully boned corset like they had back then, with decorative stitching defining the plecement of eacch bone.
The pattern is the very same that I have online on this site. And the method of making it the the one I have described on one of the howto pages. Those instructions are based on what I've learned during this project.
So all that is left is to show you what it looks like in real life.
I chose silk satin of a wonderful deep green I had bought in Hong Kong (yup, all my satin is either from there or from Singapore; the prices for silk satin here at home are prohibitive). Actually it was what was left over from the pet-en-l'air* - not enough for anything else, and I thought that if I wore this corset under the pet-en-l'air it would look good even if it became visible between the front tabs.
For the stitching, I used golden-beige silk thread. The tape for binding and the buttonhole silk for the eyelets are the same colour. At hindsight, I should have used thicker thread for the stitching, but then I would have had to use buttonhole silk, which is much more expensive and a tad too thick... and this corset has cost me about 600m of silk thread. So I used the thread doubled.
Here's a pic of the awfully boring first stage with only the foundation (the cheap IKEA courtain again) with the boning inside. It gets more interesting when the top fabric is on and the stitching begins:
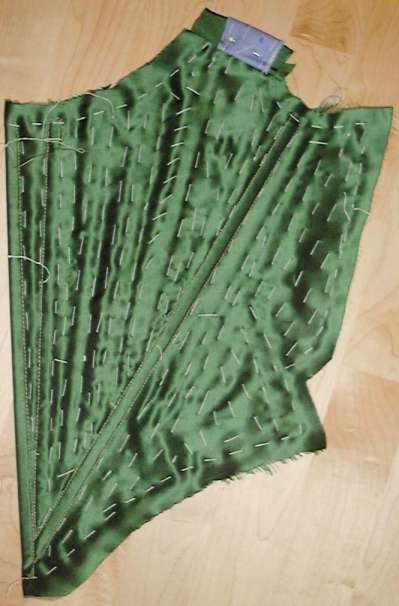
Here I have basted the top onto the foundation all around the bones and in between, too, because that satin stretches more than the foundation, and woe if satin buckles: The sheen of the fabric betrays it all! My next fully boned stays - if I ever find it within myself to invest so much work, that is - is going to have a dull top fabric, I swear! [click on the pic for a bigger one]
 When
I had done the decorative backstitch around all the wide plastic boning, I started
to stitch narrower channels for the Spanish reed in between. At first, I used
tailor's chalk to mark the lines, but the wider the line is, the harder it is
to stitch a straight line. Then I bought a magic pen for silk painting - wonderful!
The ink vanishes after a day or two.
When
I had done the decorative backstitch around all the wide plastic boning, I started
to stitch narrower channels for the Spanish reed in between. At first, I used
tailor's chalk to mark the lines, but the wider the line is, the harder it is
to stitch a straight line. Then I bought a magic pen for silk painting - wonderful!
The ink vanishes after a day or two.
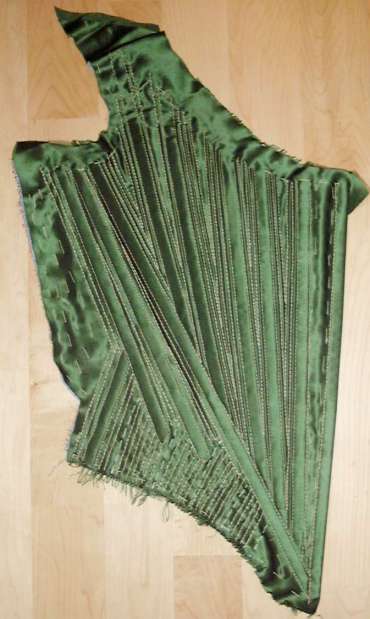
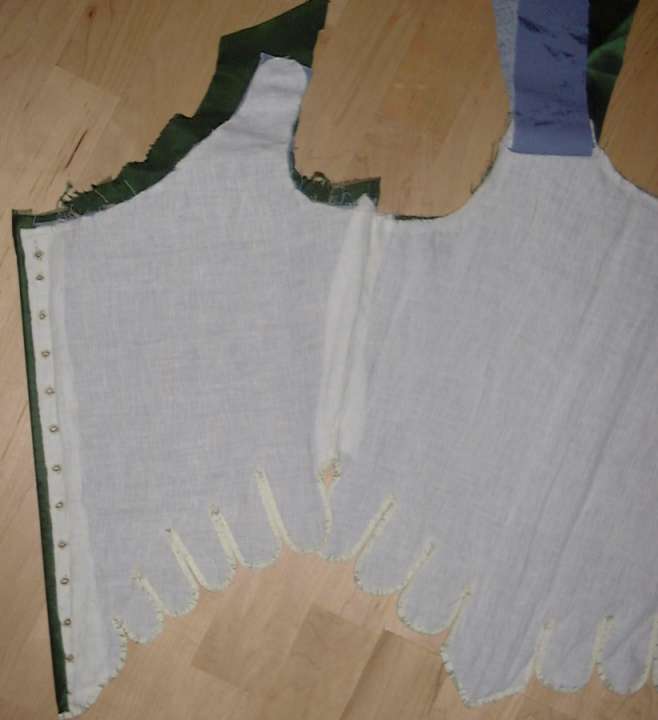
On the right side you see a "finished" front panel. BTW, it was a good idea to leave a generous allowance when cutting the satin: Depending on the direction of the cut, that satin can fray like hell. In some places the allowance is all gone now - had there been less, I would now have to cover up holes.
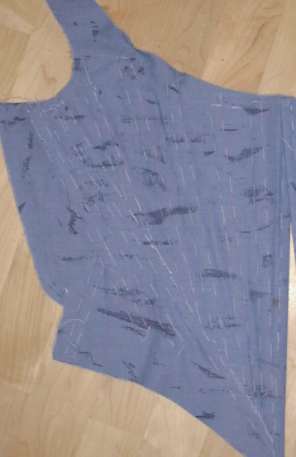
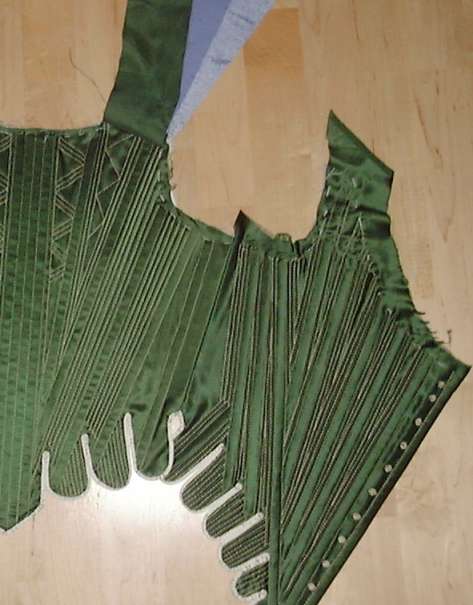
Next step was to sew the pieces together, then cut out and sew the lining parts, to place them on the inside left on left, and keep them in place with basting. Then I started binding the lower edge with 10 mm wide taffeta tape, cutting each tab in turn, and neatening all four layers (top, 2x foundation, lining) at once. Here's a pic of the outside, with the neatening on the lower edge done. Note the three layers of shoulder strap: One of base fabric right-on-left on the inside; on the outside, one layer of top fabric and one of base right-on-right. Here's a pic of the inside at the same stage.
*) Not quite finished yet, mainly because it turned out
to be too small and I didn't have the nerve to alter it.
Content, layout and images of this page
and any sub-page of the domains marquise.de, contouche.de,
lumieres.de, manteau.de and costumebase.org are copyright (c) 1997-2022 by Alexa Bender. All rights
reserved. See Copyright Page.

GDPO


This work is licensed under a Creative Commons License.